Sunday 28 March 2010

TTV first shot


First shot from my Through the view finder set-up, shot taken in mirror so you can see my "contraption" which consists of a Nikon D60 with a Super tak 1.4/50 and macro extension tube focused on the top viewfinder of a Kodak Duaflex TLR camera all held together by a cardboard tube and black tape


This is so much fun! and so cheap and easy to do, I will post some more results and hopefully a guide to how and what to do later on today or tomorow.

Thursday 25 March 2010

First Flush

The Impossible Projects first film came on sale today and has all ready met bad press and been nick named First Flush film (as you will be flushing your money away) for £20 a pack. users have given the film mixed reviews but many have said its too unstable and image quality is a far cry away from the original Polaroid film. but it is still a massive achievement to have made this film in a year and I have high hopes for there future films and projects!


The British journal of photography showed 8 pictures they took from there press pack in there Blog.

The PX-600 type film for the 600 type cameras will be out in a few weeks

Wednesday 24 March 2010

Cookies And Milk

Just got and adaptor for my Pentacon 1.8/50 so I could put it on my Nikon it doesn't have as nicer feel or build quality as the Super Takumar I have been using but still achieves a lovely depth of focus

again you can quite easily pick up these old pentax screw mount lenses at car boots and on ebay and with a adaptor that costs less than a fiver can be used on any modern DSLR

cookies and milk


Pentacon electric f1.8/50

Needless to say these were gone soon after

Tuesday 23 March 2010

Red Scale Film Results

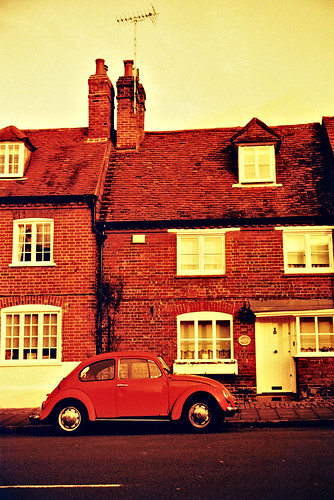
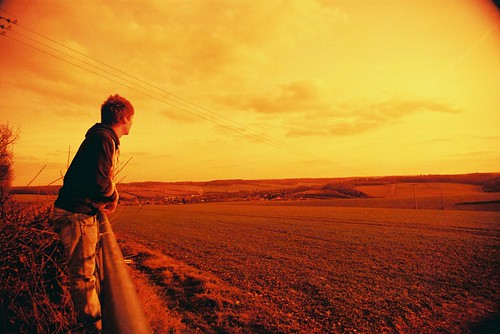
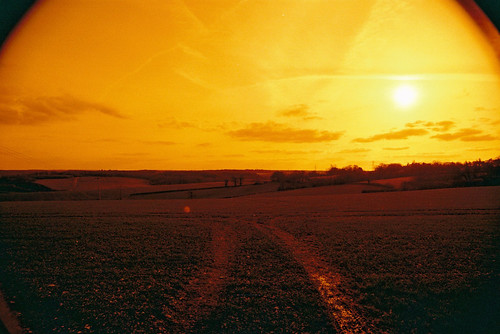
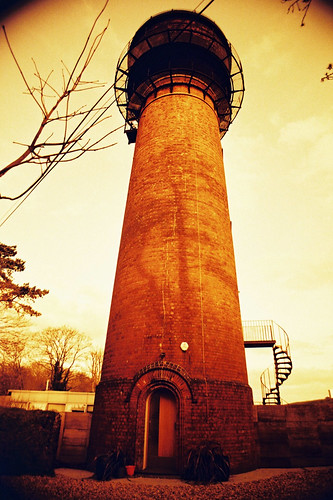
I realise this has taken ages but Boots decided my first roll was broken and didn't bother to do anything with it so I shot a new roll made in the same way, round the lovely little town of Old Amersham in Buckinghamshire

redscale car

CNV00012

red 2

red 3

Not all the pictures came out as it is quite hard to judge the exposure especially in strong sunlight but still  think I managed to get some great shots. I used a DX sensor lens on my Nikon F65 that's why some of the pictures have a massive vignette

for a guide on how to make the film for this type of photography click here

Monday 22 March 2010

They Did It!

The impossible project finally unveiled there new film today PX-100 and PX-600 for the SX-70/600 type cameras. The film is monochromatic but not black and white like most were expecting it has a much more sepia and creamy look giving it a more vintage feel. The film is apparently more unstable than original Polaroid film and is as promised a whole new type of material! the film can be manipulated using heat and pressure also the use of over and under exposure has much more extreme effects. The film comes on sale on the 25th of March but almost more interestingly The Impossible Project also announced that they are planing on making an 8x10 and 20x24 material in the future, next to come though from the impossible team is instant colour film for the SX-70 and 600 cameras expected in the summer


Shot taken on the new film
By Zora Strangfields

Sunday 21 March 2010

Whats Through The Viewfinder?

Through The Viewfinder is a photography movement that has been rapidly growing for some time, the idea behind it is to construct a device that allows you to take pictures using your DSLR + Macro lens through the viewfinder of an old TLR camera, most popular being the Kodak Duaflex to give amazing vintage looking results. most "devices" consist of some packing tube taped to the top of the TLR and on the other end of the tube a lens cap is taped so the DSLR can be easily attached. The distance between the top viewfinder of the TLR camera and the macro lens of the DSLR matches the minimum focus distance of the macro lens allowing the shot to be in focus. I really want to try this out so have bought a Kodak Duaflex on ebay for a fiver and will post a guide to how I build the thing shortly after it arrives.

There are lots of flickr groups devoted to this type of photography one of which includes blank templates of views through the viewfinder on various cameras so you can do faux through the viewfinder pictures on Photoshop


My Sister TTV


London think i took this in 2008

I made these two pictures using some textures from the group above and Photoshop by creating a vignette, using layer curves (S-shape) and adjusting the colour and sharpness to create an old school-ish look overall i actually really like this effect there is loads of really impressive stuff on Flickr if you have a little dig, well worth a look I would say!  

Sunday 14 March 2010

How To: Redscale 35mm Film

Red scale film works by taking the film out of the canister and flipping it round so the layer of emulsion sensitive to red light which is on the bottom of the film is exposed first instead of last this shifts the colours in your exposure towards red and gives you interesting results like this.


This is lots of fun and so easy anyone can do it (it literally is as simple as it looks)


What ya need!

1. Scissors
2. Tape 
3. 2 rolls of 35mm film ISO 400 or higher
4. A dark place (As in a room, not the dark corners of your mind they will be no help here)


I would recommend trying this for the first time with some cheaper/expired film 


Step 1. Take your first roll of film and pull all the film out gently and cut it leaving a stub of 3cm like in the second picture, then discard the film that you pulled out as it is now exposed and useless.


Step 2. Put your first film to one side and take your second one, with this film you want to cut off the leader and leave enough poking out of second film so you can attach it to your first one


Step 3. put both your rolls next to each other, your empty roll from step one on the left facing down and your trimmed full roll from step two on the right


put the two bits of film on top of each other lining up the sprocket holes and put a bit of tape over the two bits of film


neatly fold the bit of tape around the other side and make sure the two bits of film are strongly attached


Step 4. (THIS NEXT STEP NEEDS TO TAKE PLACE IN A DARK ROOM! You can use a dark room if you have one or if not the attic? garage at night? airing cupboard? don't let the words dark room scare you this is another very easy step!) 

when in your dark room use the end of the scissors as a film winder and gently wind the film from the full cannister into the empty one as you can see the film is going in the wrong way round which is exactly what you want


Step 5. After you have wound all the film from your second canister into your first canister come back into the light and cut it from your now empty second cannister to separate the two. You now need to make a leader on your new reversed roll of film to do this take the leader you cut off earlier and use it as a stencil to cut a leader on your new roll of film


And there you go! your new reversed redscale film!


Things To remember when shooting with your redscale film. If it was initially ISO 400 it is now 100 so you if your using an older camera you can use the ISO setting and just put it on 100 instead of 400 or if you are using DX coded film and cant change the ISO option then remember to over expose your shots. The more you overexpose the more green/yellow your shots will be if you don't overexpose by much your shots will be a deeper red so go with the look you like best and choose your exposure accordingly

here is a great group of lots of redscale shots, I shot this roll I made in London yesterday so will get it processed and put the pictures up soon!

again don't know if this guide will help anyone but if it does then I'm happy!
Saturday 13 March 2010

Some Photos From Today

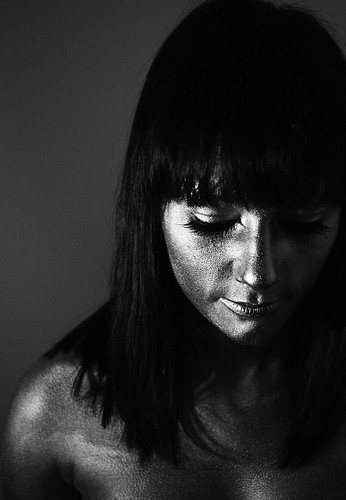
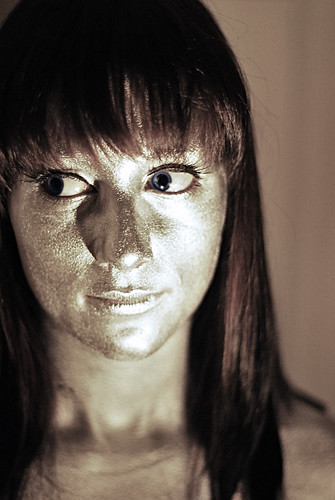
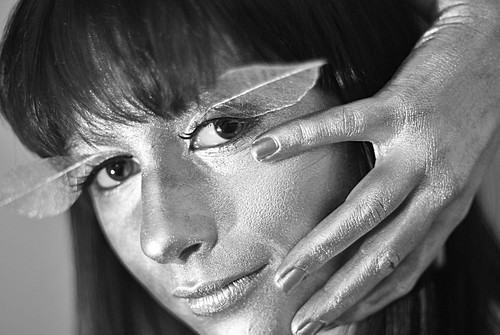
Did a little shoot for a friend today using my D60 and the Super-Takumar f1.4/50 (iv'e never known love for a bit of glass like this before)


DSC_0599
She was covered in silver paint by Hannah Lawrence which looked awesome

A

N


Going to do a simple guide on red scaling 35mm tomorrow so hopefully that will help out a few people getting confused by people pointlessly over complicating guides all the time, like the HDR ones

Monday 8 March 2010

Hello Half Frame

Just picked up my first roll from the replacement Diana mini after my first one died on me, I had used the half frame function around London this time which completely confused the poor lad at boots " I am sorry sir it appears your camera is broken" despite his opinion I thought I got some lovely snaps


Trafalgar Square (don't really know what happened here, its kind of half frame)


This lovely girl I know and an installation in the Sattchi Gallery

I'm defiantly going to get some more half frame cameras, hopefully one will turn up at a car boot soon! I would love an Olympus Pen-ee3 look how pretty it is
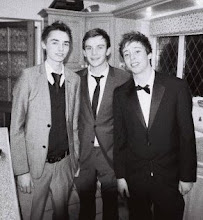


You can really get some amazing results 

Monday 1 March 2010

Another HDR Guide

I've all ways found the HDR guides out there a little bit hard to follow if your new to HDR or even don't know what it is but would like to give it a go. YOU SHOULD ITS A GREAT WAY TO LEARN ABOUT YOUR DIGITAL CAMERA AND WILL PRODUCE SOME AMAZING PICTURES!

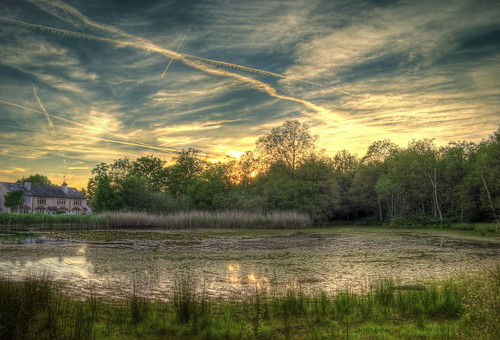
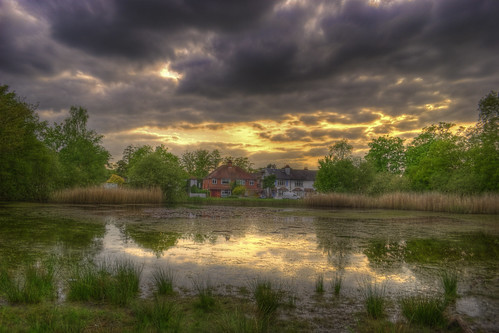
Ok so HDR stands for High Dynamic Range and is a way of blending an under exposed picture, a correctly exposed picture and an over exposed picture to give you a much fuller tonal range and produces results like this.

Gerrards Cross Pond

there are alot of HDR haters on the net I don't know why its a really fun way to play with your camera.

all you need is a digital camera that you have control over the shutter speed preferably a DSLR as they often have a more convenient function for doing this, like the click wheel on a Nikon. 3 clicks of the wheel equals one stop which you can see in the view finder and looks a bit like this
-2¬¬¬-1¬¬¬0¬¬¬+1¬¬¬+2 a Stop is the gap between each number on the display of your camera. For HDR you can either take 5 or 3 pictures start off with three to keep it simple so you take one picture with your exposure set to -1 this will be your under exposed picture one picture at 0 this will be your normal exposure and one at +1 this is your over exposed picture simple! Or some higher end DSLRs have a function called AEB (auto exposure bracketing) which will do all of this for you!

when taking your picture things you also need to do are

1. Take the picture in .RAW format
2. keep your aperture the same
3. keep the ISO the same
4. make sure the camera stays in the same place for each shot so when the shots are put together they line up perfectly
5. USE A FLIPIN TRIPOD
6. HDR shots work best of landscapes and buildings and impressive stuff with colour, a picture of your Nans favourite lamp will all ways look shit even in HDR

Right so you go out you find a nice pond you take your three RAW pictures and its all going rather well

NEXT

get home get on the computer and get Photomatix Pro 3.2.7 (free 30 day trial) the full thing is a bit pricey but Photomatix lite will do the job and is $39 don't know what that is in England money but its not to much considering what it can do anyway get the trial which is free so you can have a play

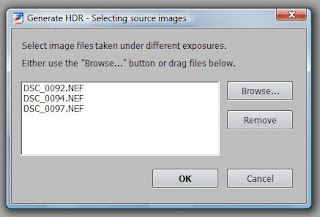
Open Photomatix and select generate HDR image, drag and drop your three raw picture files into the box that opens like this and click ok.


next this box will pop up

in this type of shot which includes trees and other little things I choose "back ground movements" instead of "moving objects/people" and tend to leave the other settings alone at this stage but you can have a play and see what works best for you next time, but this time click OK a box will then pop up saying "generating raw image" this is your computer stitching the three images together into one picture

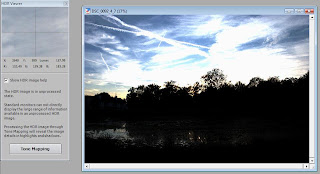
which will look something like this


at this stage the picture will tend to look a bit dark and weird, and this is when "Tone mapping" comes into play so click on the button that says Tone Mapping on the left of the screen after a bit of whirring from your computer a whole new set of options will appear on the left which is your tone mapping settings. Your image will re-appear hopefully all ready looking a bit nicer now use the tone mapping slider bars and tabs to change the picture round to how you like it, its a good idea to have a right play here so you get a feel for what each setting does and how it makes the image look I like to keep my images looking more realistic but some really wacky and interesting effects can be achieved but I think this looks a bit crap but its up to you what you do!

Strength - changes the strength of the colour in the image
colour saturation - changes how saturated the colours are in your image
light smoothing - higher settings look more realistic
Luminosity - effects the lightness of the image

experiment with the other tabs to see what you can achieve! when you have found something you like click process and the computer will whir away again you will then be presented with your final image, click file and save as JOB DONE! of course you can further edit the image in photoshop etc.

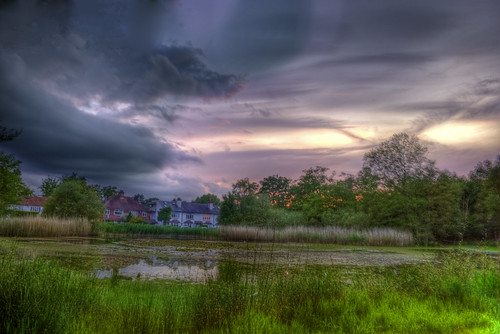
don't know if anyone will ever use this info from here but if it helps some one then happy days, here are some other images i have made using this technique

Gerrards Cross Pond 3

Gerrards Cross pond HDR

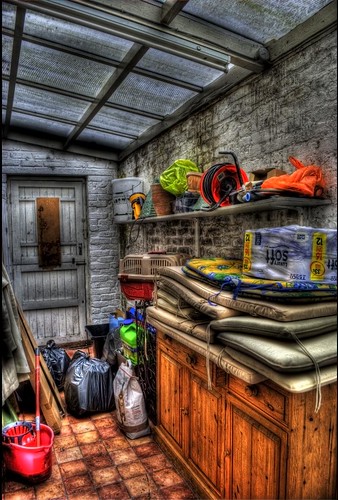
My Grubby Outhouse HDR