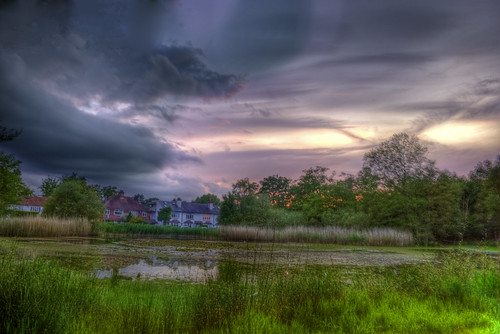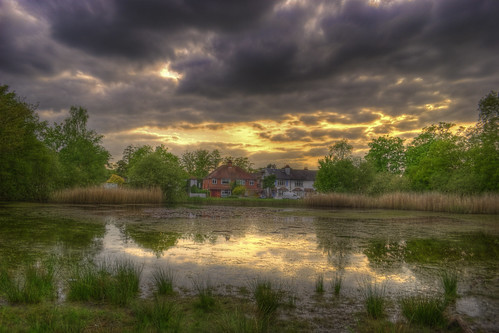
Ok so HDR stands for High Dynamic Range and is a way of blending an under exposed picture, a correctly exposed picture and an over exposed picture to give you a much fuller tonal range and produces results like this.
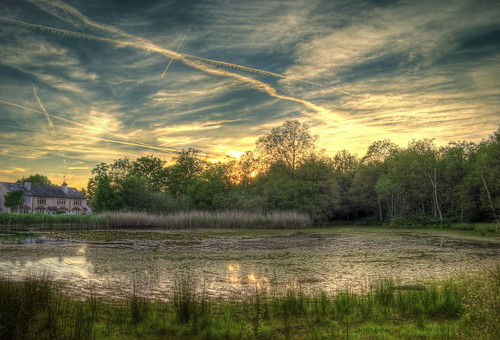
there are alot of HDR haters on the net I don't know why its a really fun way to play with your camera.
next this box will pop up

all you need is a digital camera that you have control over the shutter speed preferably a DSLR as they often have a more convenient function for doing this, like the click wheel on a Nikon. 3 clicks of the wheel equals one stop which you can see in the view finder and looks a bit like this
-2¬¬¬-1¬¬¬0¬¬¬+1¬¬¬+2 a Stop is the gap between each number on the display of your camera. For HDR you can either take 5 or 3 pictures start off with three to keep it simple so you take one picture with your exposure set to -1 this will be your under exposed picture one picture at 0 this will be your normal exposure and one at +1 this is your over exposed picture simple! Or some higher end DSLRs have a function called AEB (auto exposure bracketing) which will do all of this for you!
when taking your picture things you also need to do are
1. Take the picture in .RAW format
2. keep your aperture the same
3. keep the ISO the same
4. make sure the camera stays in the same place for each shot so when the shots are put together they line up perfectly
5. USE A FLIPIN TRIPOD
6. HDR shots work best of landscapes and buildings and impressive stuff with colour, a picture of your Nans favourite lamp will all ways look shit even in HDR
Right so you go out you find a nice pond you take your three RAW pictures and its all going rather well
NEXT
get home get on the computer and get Photomatix Pro 3.2.7 (free 30 day trial) the full thing is a bit pricey but Photomatix lite will do the job and is $39 don't know what that is in England money but its not to much considering what it can do anyway get the trial which is free so you can have a play
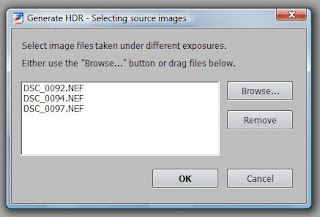
Open Photomatix and select generate HDR image, drag and drop your three raw picture files into the box that opens like this and click ok.

next this box will pop up

in this type of shot which includes trees and other little things I choose "back ground movements" instead of "moving objects/people" and tend to leave the other settings alone at this stage but you can have a play and see what works best for you next time, but this time click OK a box will then pop up saying "generating raw image" this is your computer stitching the three images together into one picture
which will look something like this

at this stage the picture will tend to look a bit dark and weird, and this is when "Tone mapping" comes into play so click on the button that says Tone Mapping on the left of the screen after a bit of whirring from your computer a whole new set of options will appear on the left which is your tone mapping settings. Your image will re-appear hopefully all ready looking a bit nicer now use the tone mapping slider bars and tabs to change the picture round to how you like it, its a good idea to have a right play here so you get a feel for what each setting does and how it makes the image look I like to keep my images looking more realistic but some really wacky and interesting effects can be achieved but I think this looks a bit crap but its up to you what you do!
Strength - changes the strength of the colour in the image
colour saturation - changes how saturated the colours are in your image
light smoothing - higher settings look more realistic
Luminosity - effects the lightness of the image
experiment with the other tabs to see what you can achieve! when you have found something you like click process and the computer will whir away again you will then be presented with your final image, click file and save as JOB DONE! of course you can further edit the image in photoshop etc.
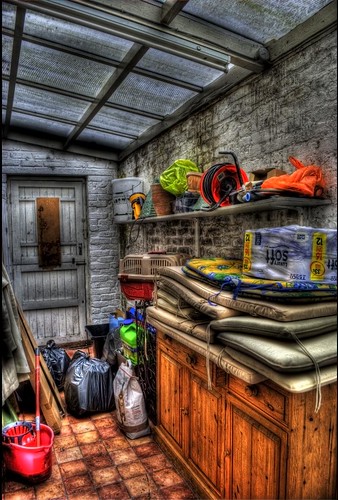
don't know if anyone will ever use this info from here but if it helps some one then happy days, here are some other images i have made using this technique